For the sake of honesty, you should know that I initially set out to make arancini. But, with my new focus on trying to not be egregiously fatty with my cooking, I didn’t want to deep fry these yummy little rice balls. So, I baked them (sort of), and as a result, they ended up a little bit more on the cake than the ball side.
(As a note, I reserve the occasional right to cook something that is outlandishly fatty. ;))
I don’t want to mislead anyone into thinking these risotto cakes are super healthy. They are not. In fact, the amount of mascarpone I put into the risotto may be why they didn’t hold their ball shape. Still, save where you can right? If you do want to deep fry them, by all means, go ahead! After all, it is the traditional way to make arancini!
I enjoyed my lemon risotto cakes with this week’s Wine Wednesday choice – Mulonniere Chenin Blanc.

One tip, make the risotto in advance and put it in the refrigerator. Using chilled risotto makes it much easier to mold the ball/cakes. So, this recipe is in two parts – Lemon Risotto and then the actual risotto cakes.
Lemon Risotto
This recipe makes a large batch of risotto. So, feel free to save some as a regular side dish, depending on how many risotto cakes you want to make.
Ingredients
- 1/2 cup of olive oil. (I used homemade lemon/garlic infused olive oil)
- 2 Cups of arborio rice
- 1 Cup of dry white wine
- 6 Cups of chicken stock
- Zest of 1 lemon (finely chopped)
- 1/4 Cup of finely diced onions
- 3 Minced garlic cloves
- Juice from 1 lemon
- 3/4 Cups of mascarpone
- 3/4 cup Parmesan cheese
- 1/4 stick of butter
- 1/2 teaspoon of salt
- 1/4 teaspoon of pepper
Instructions
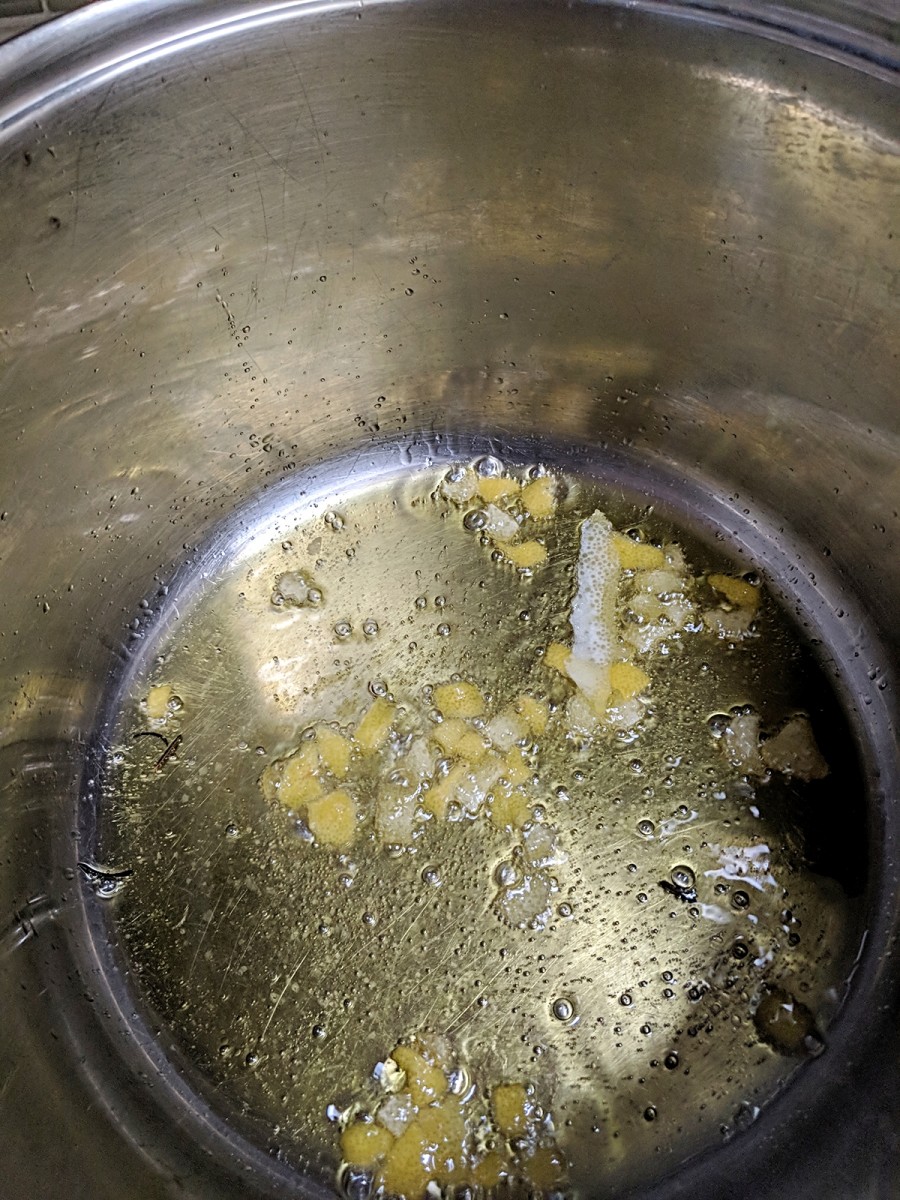
- Peel the zest of the orange and cut up peels finely. Use a peeler and avoid any of the white pith.
- Heat olive oil.
- Saute the lemon peels and then the onion and garlic for about five minutes on medium heat.

- Add rice and saute for another four minutes or until the edges of the rice are clear.
- Start to pour the wine slowly into the rice, constantly stirring.
- Add salt.
- Continue adding the wine until completely absorbed. Remember, keep stirring!
- Squeeze lemon juice into the rice.
- Slowly add the broth at about 1 cup to start and then a 1/2 a cup at a time. Stir and wait until the broth has been completely absorbed, then add more.
- Keep the process of adding broth until it is absorbed going. TIP: if you run out of broth and the risotto is still crunchy, you can always use water. The key here is to add slow and cook on medium heat.
- Once the rice is cooked, lower the heat and stir in butter, mascarpone cheese, and Parmesan cheese.
- Take off the heat. Add pepper and salt to taste. Remember parmesan can be very salty, so taste first!
- When cooled to room temperature, put risotto into a container and then into the fridge.
Feel free to eat some of the fresh risotto! You have more than enough to make the risotto cakes.
Mozzarella and Prosciutto Stuffed Lemon Risotto Cakes
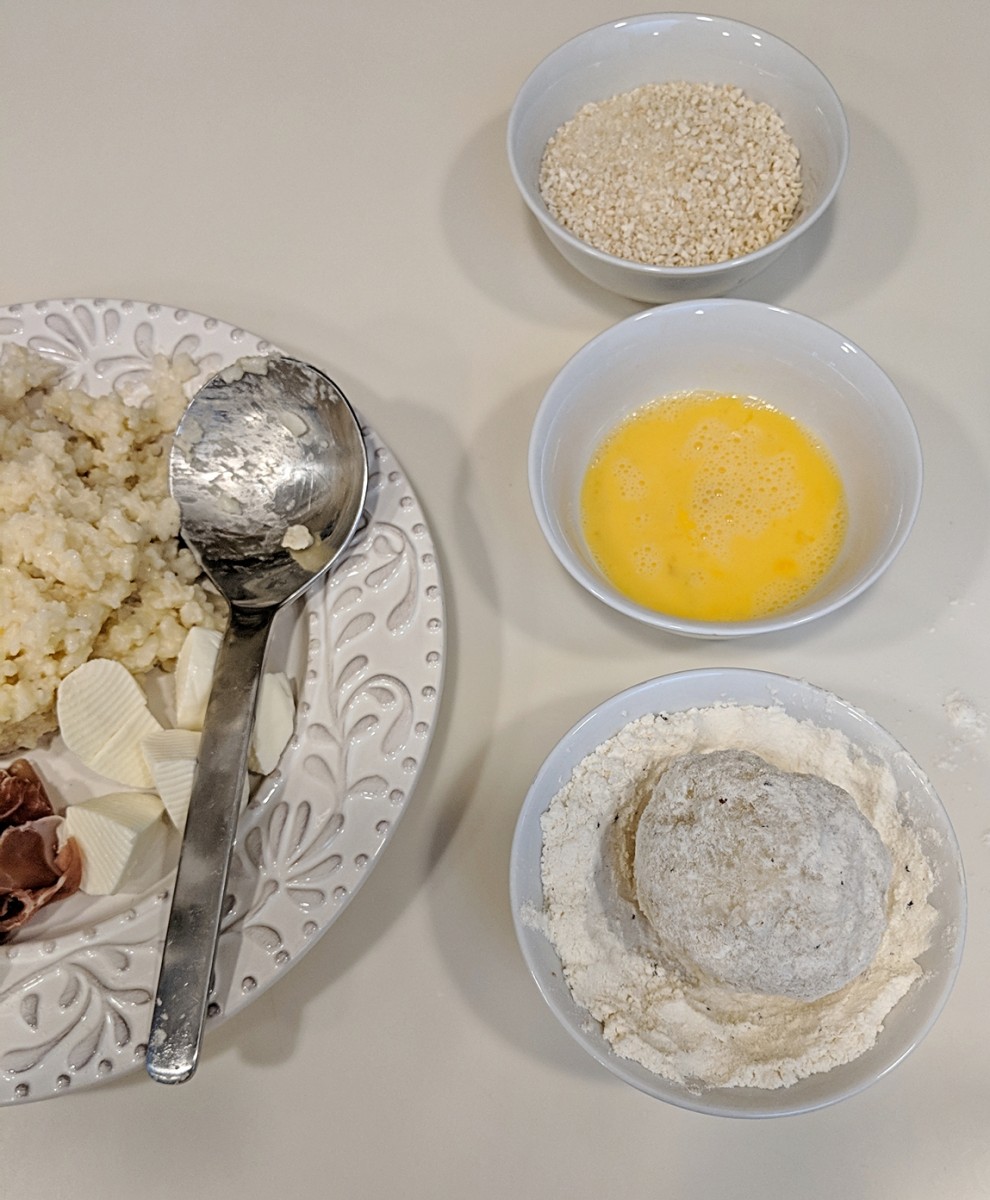
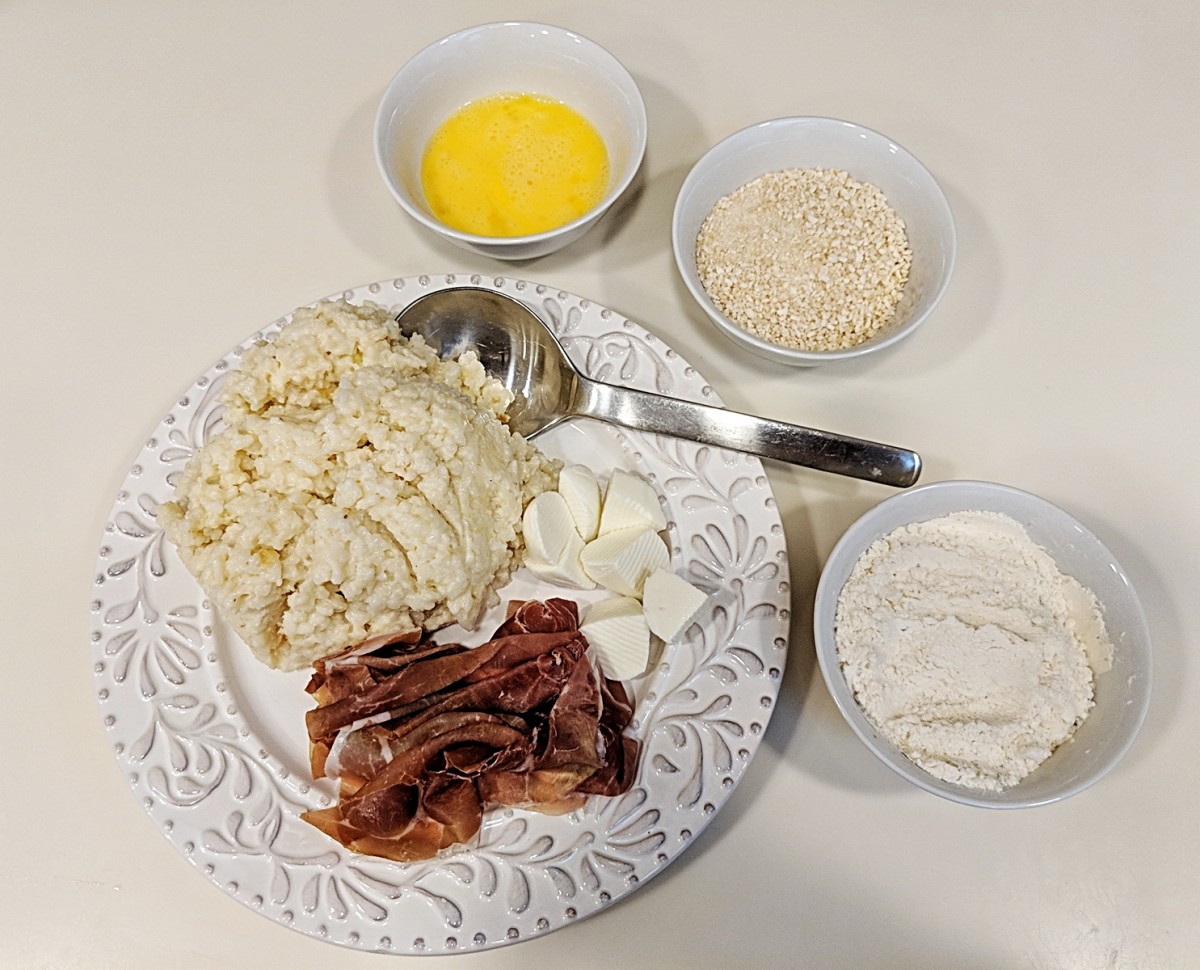
When that delicious risotto is chilled, remove from the fridge and prepare the following ingredients. If you want to make more than 12 cakes, have more prosciutto and mozzarella on hand.
Ingredients
- Lemon Risotto
- 1/2 cup of flour with a little bit of salt and pepper.
- 2 eggs (beaten)
- 3/4 cups of breadcrumbs of your choice. (I used gluten-free, simply because the crumbs are a little bigger.)
- 1/4 pound of prosciutto
- 12 squares of fresh mozzarella
- 1/4 cup of olive oil. (Enough to coat the bottom of the pan)
- Fresh Parmesan to sprinkle on top.
- Fresh arugula salad (optional)
Instructions
- Pre-heat the oven to 375.
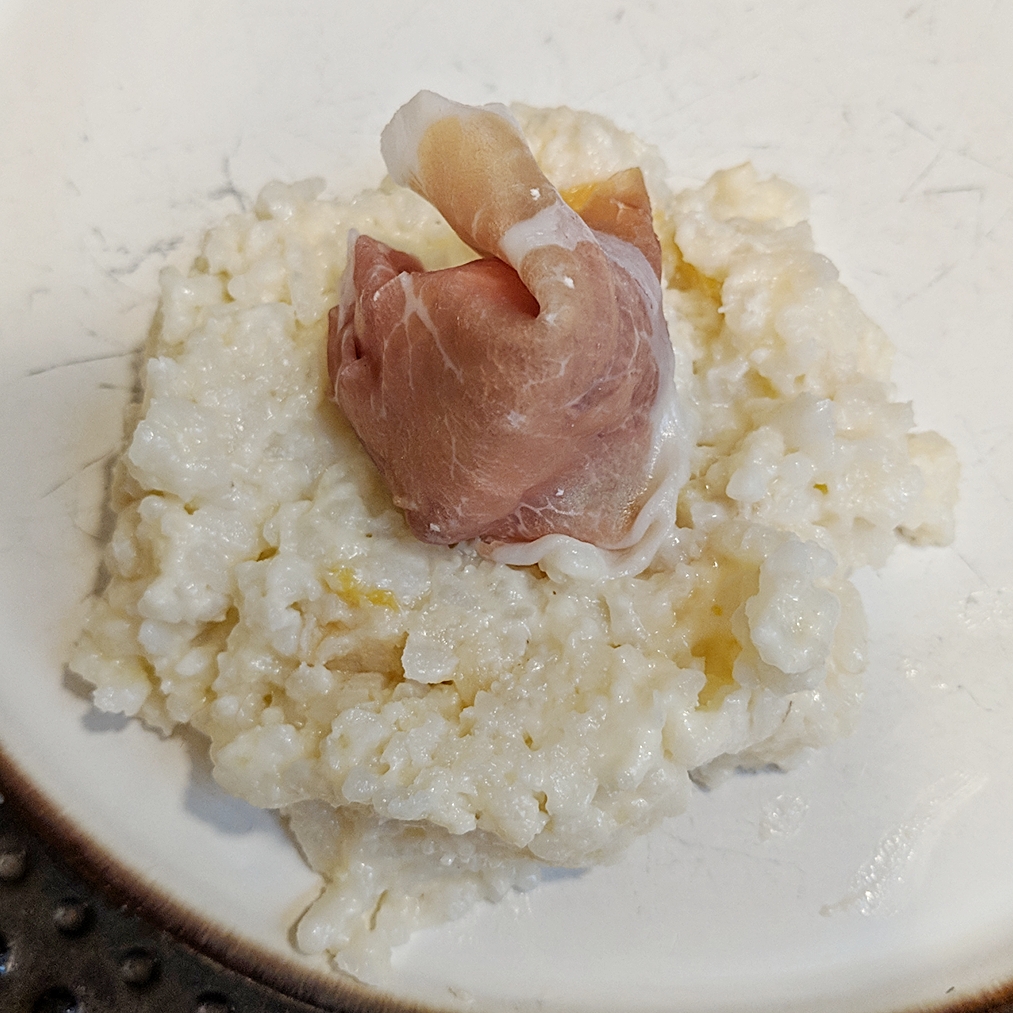
- Wrap pieces of prosciutto around fresh mozzarella
- Take an extra large spoonful of rice and flatten it a bit.
- Put the prosciutto/mozzarella in the center and form a ball around it.
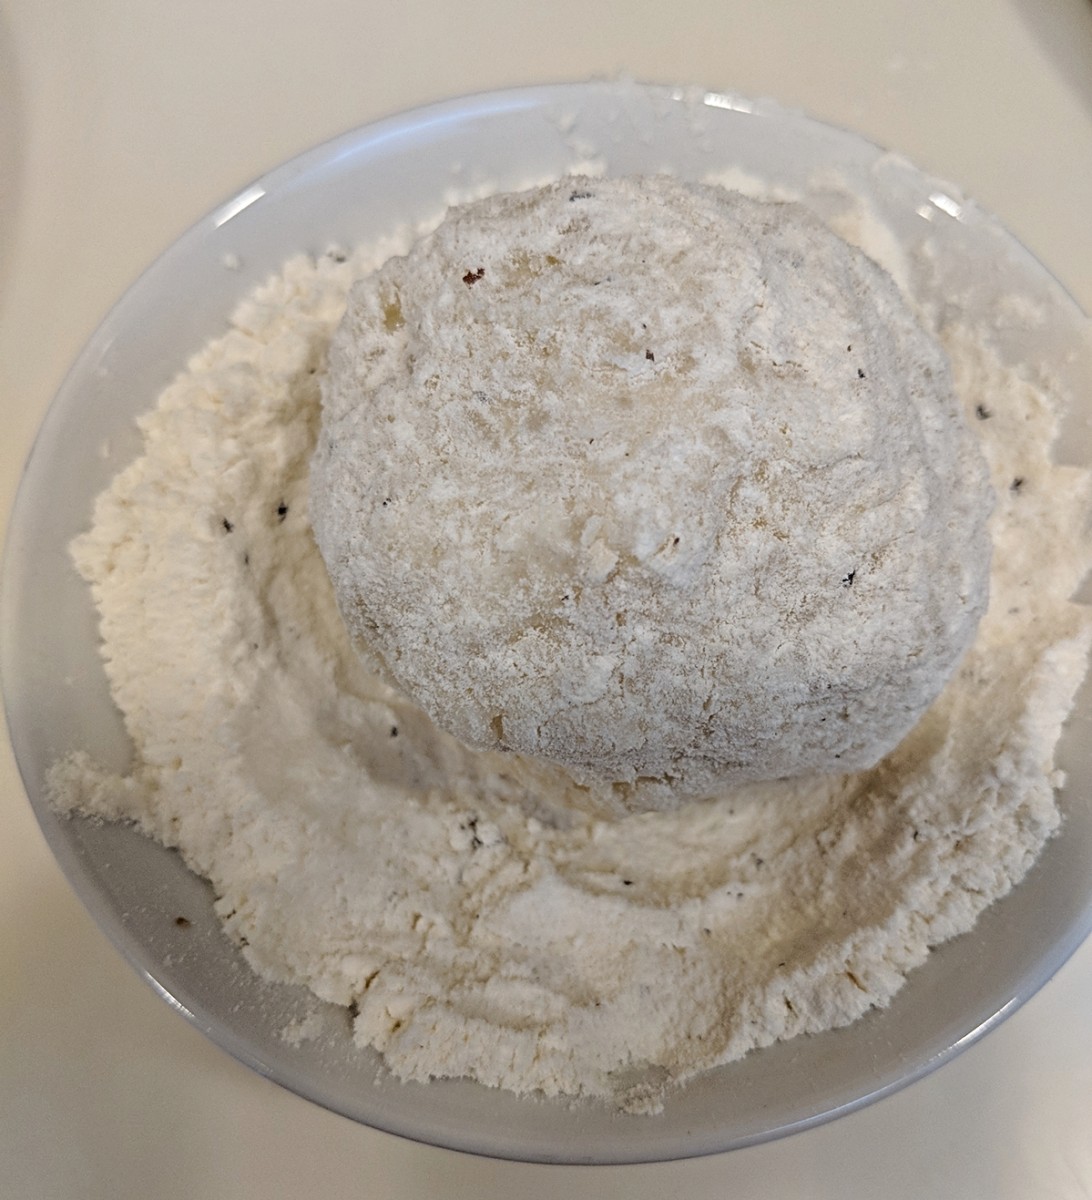
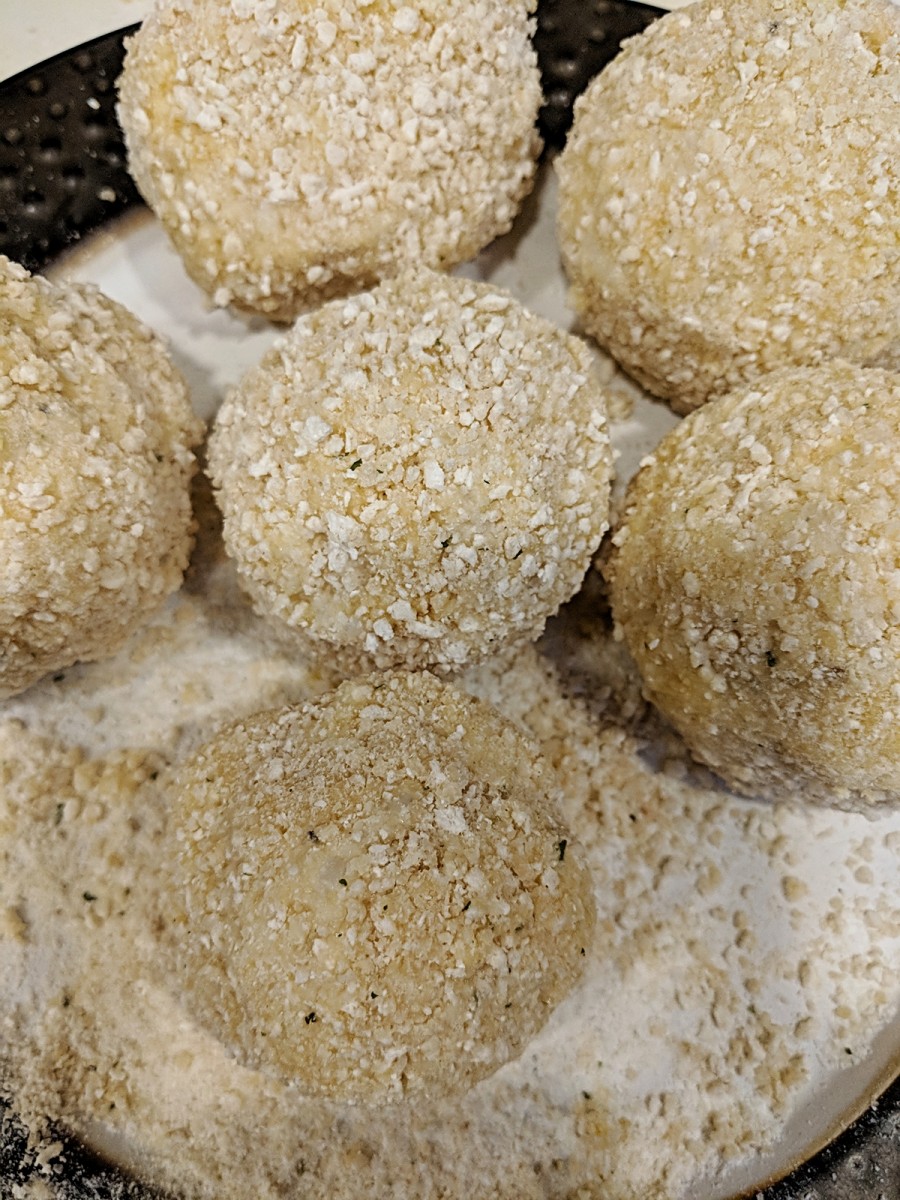
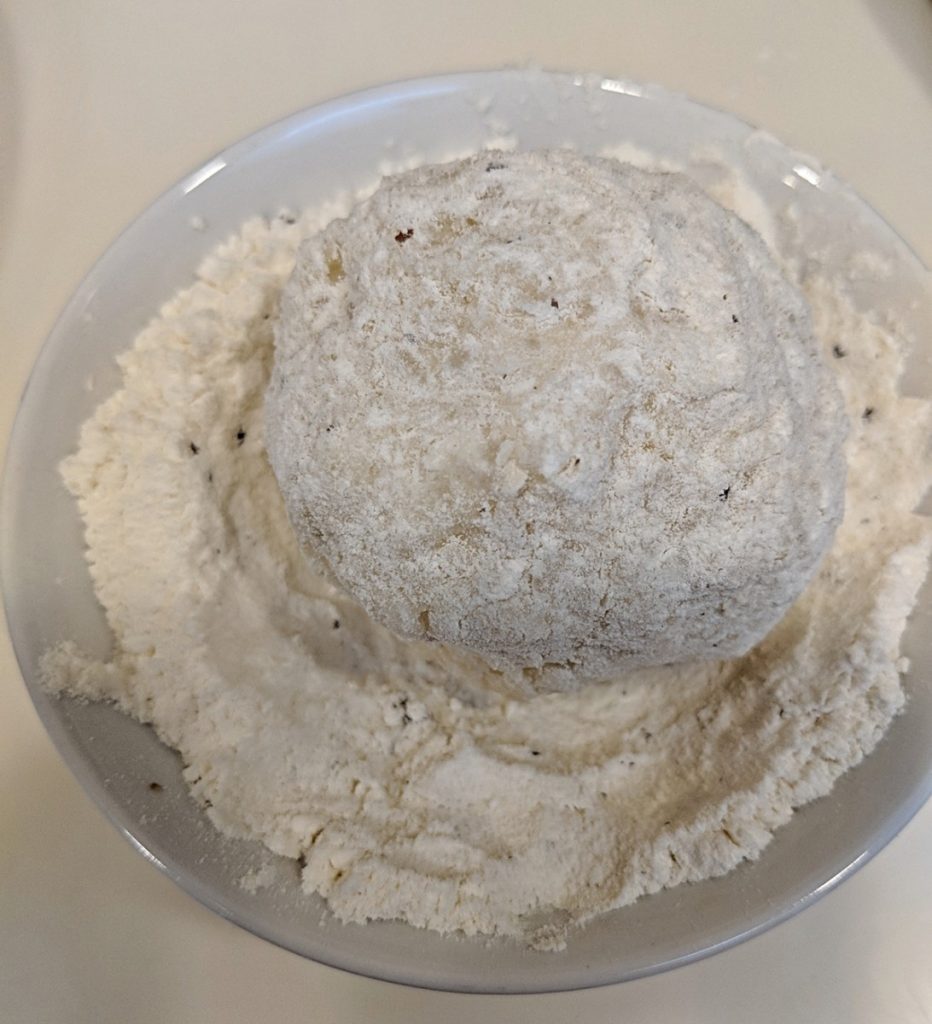
- Dip the ball first into the flour, then egg, and finally breadcrumbs, making use to get a healthy coating of each.

- Once all of the balls have been rolled, heat the oil in the pan.

- Gently roll them in the oil, cooking on all sides just long enough to make sure the breadcrumbs stick. (Now, I know I said I was going to deep fry them. But, I did want to cook the edges slightly in oil to ensure a crunchy outside.)
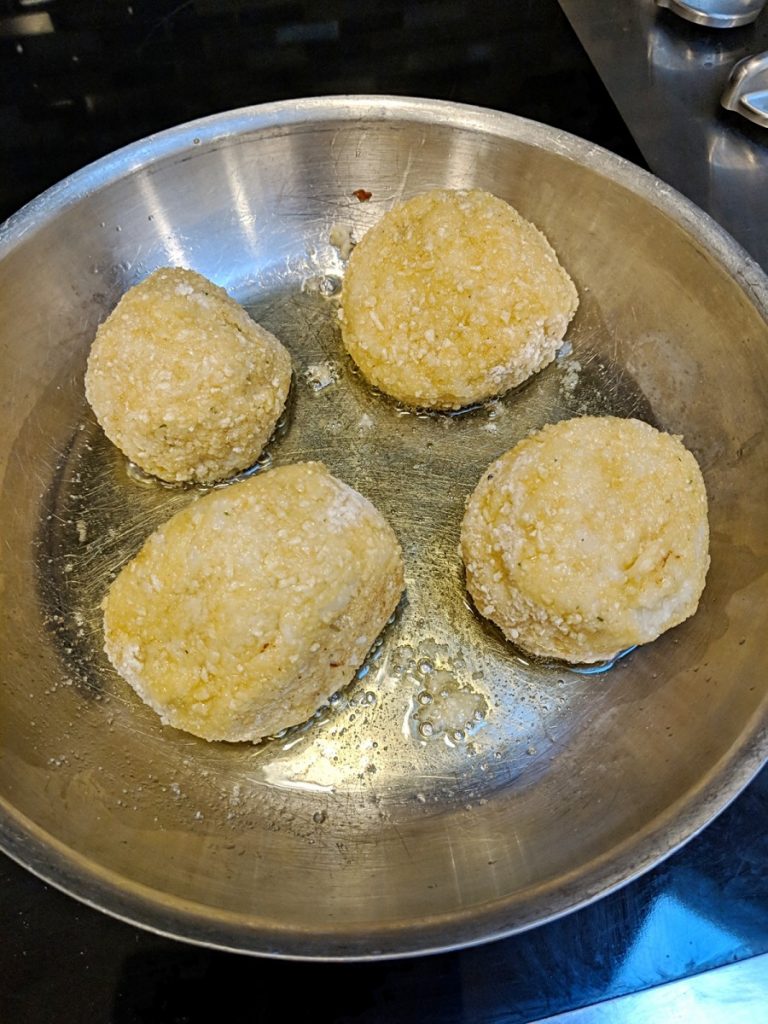
- Place on cooking sheet and put into the oven.
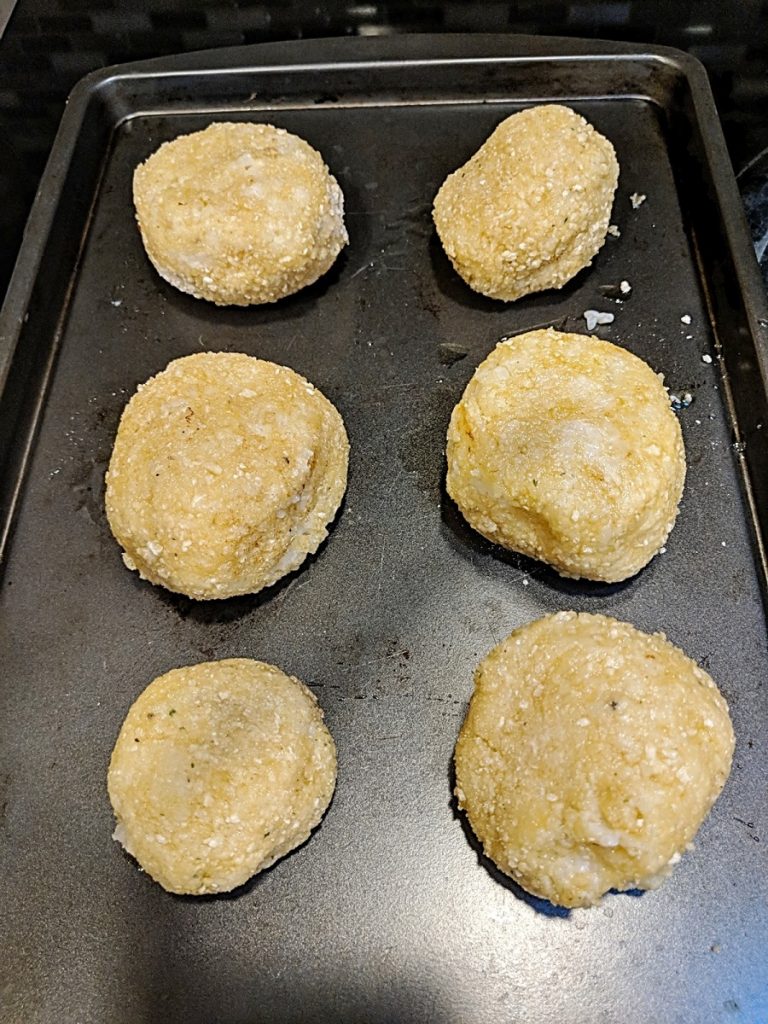
- Set timer for 11 minutes and flip. Cook at 375 degrees for another 11 minutes.
- Remove from oven.
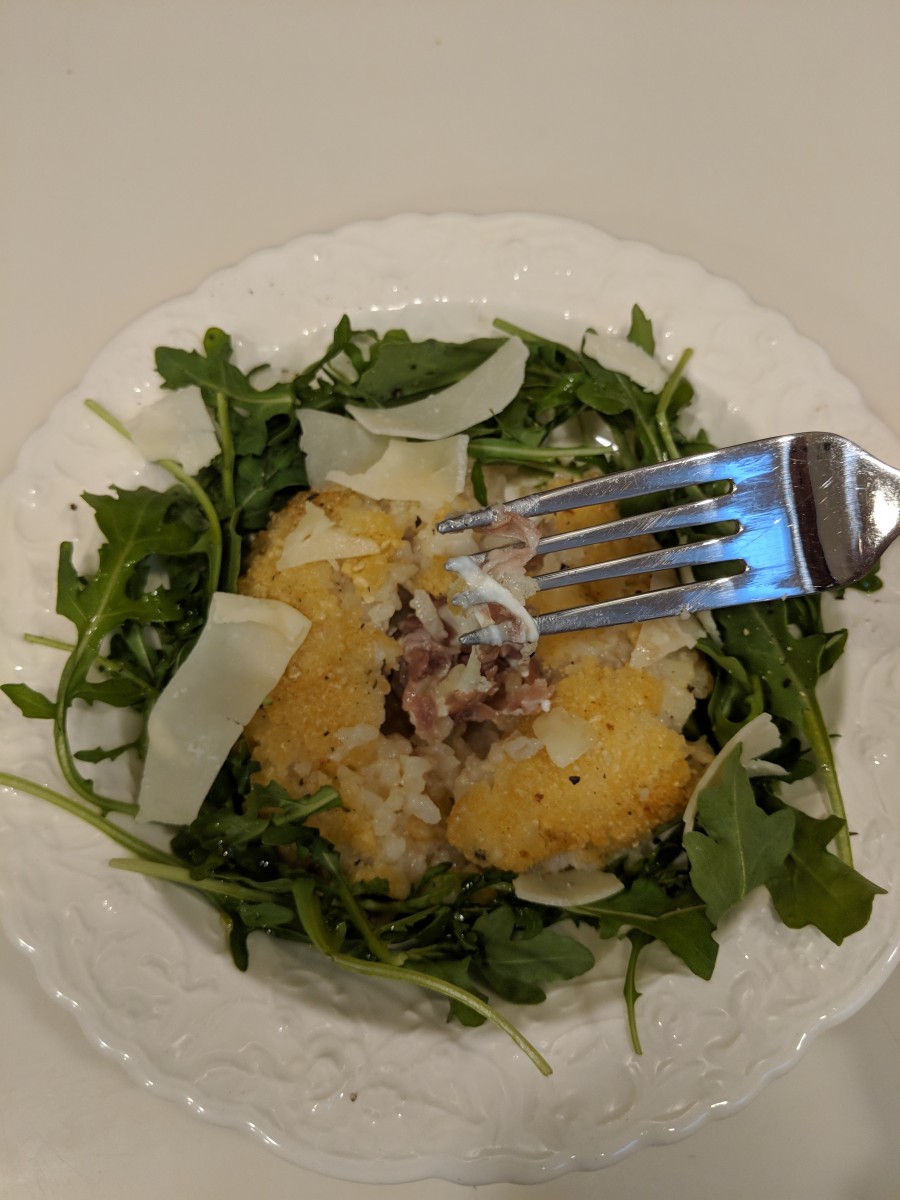
- To serve, put on a bed of arugula tossed with olive oil and salt and pepper. Shave fresh parmesan on top.
- Happy Eating!